How to run latexdiff in Github Actions
A tutorial on how to generate a pdf highlighting differences between two LaTeX documents in a Github Actions runner.
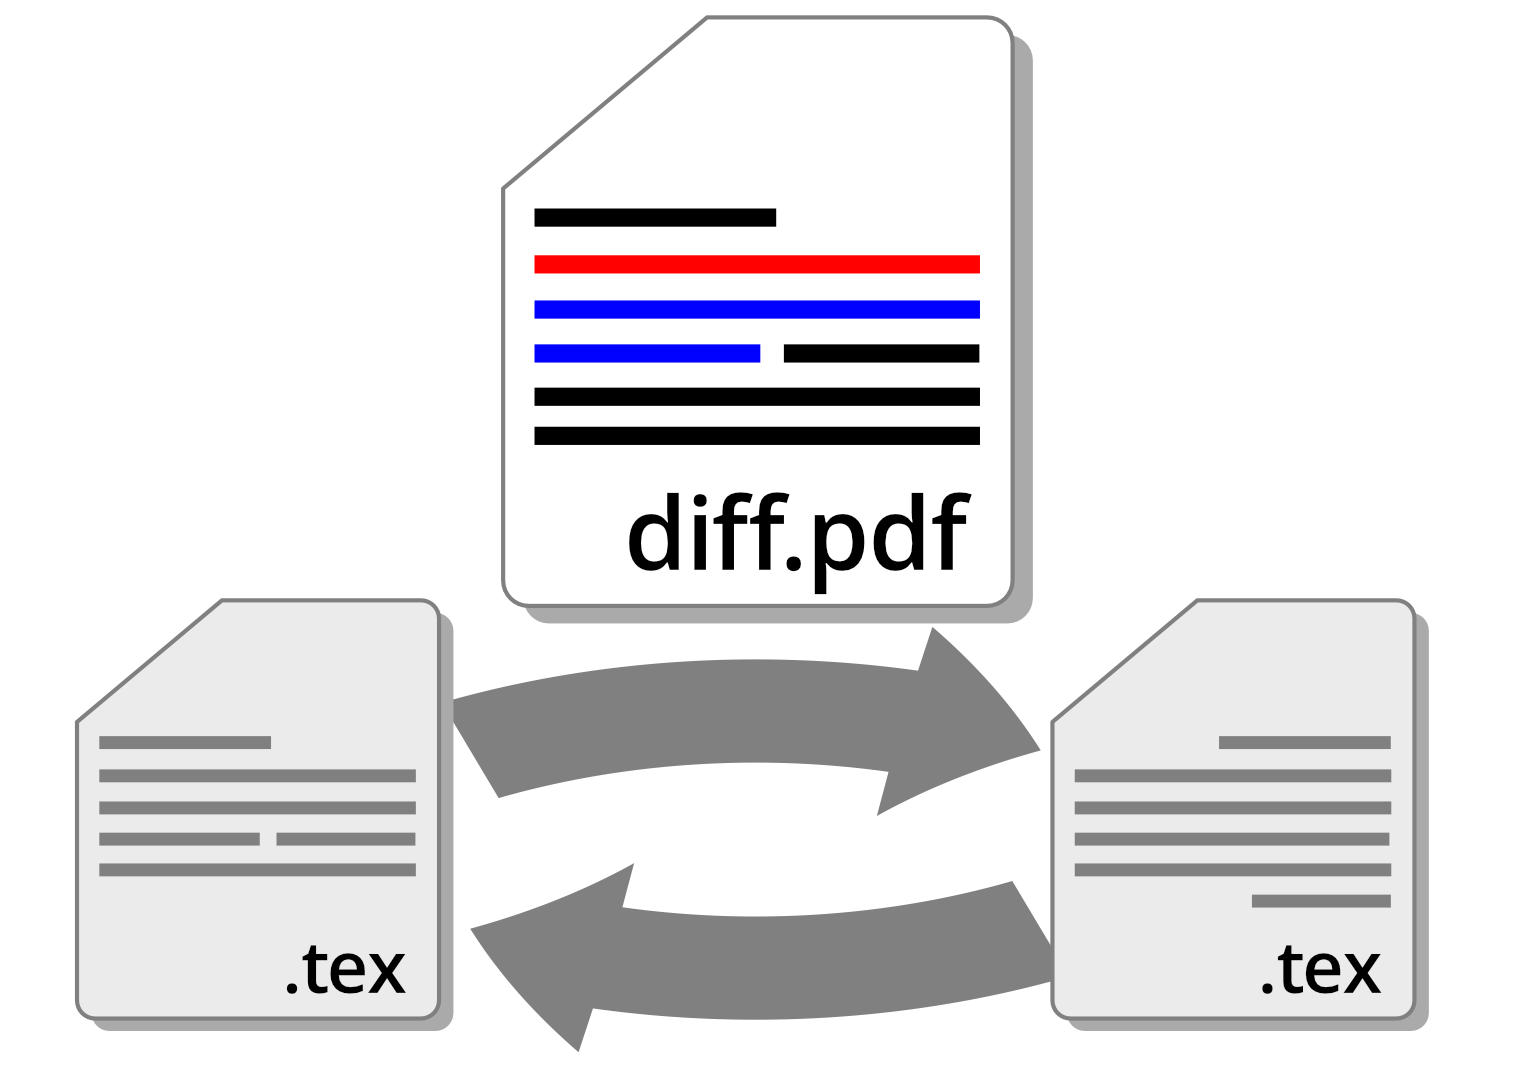
Why use latexdiff?
Sometimes when revising a manuscript or collaborating on a project, it is necessary to highlight the changes made to the document since the previous revision. In Microsoft Word, that is achievable through tracked changed. For LaTeX users, there exists a utility called “latexdiff” that takes two LaTeX source files as inputs and generates a file highlighting the differences between them. The functionality is very similar to Microsoft Word’s tracked changes. But what if we want to generate “diff” files automatically every time changes are committed to version control? For this purpose, I made a simple Github Action that can be installed into your repository with a few lines of config. Upon every change, the action will run on a Github-hosted VM and will produce a diff file that will be uploaded as an artifact to you Github repository. In this tutorial, I will show how to set it up in an Overleaf project using Overleaf’s git integration. Currently, the git integration is only available to Overleaf premium users.
Tutorial
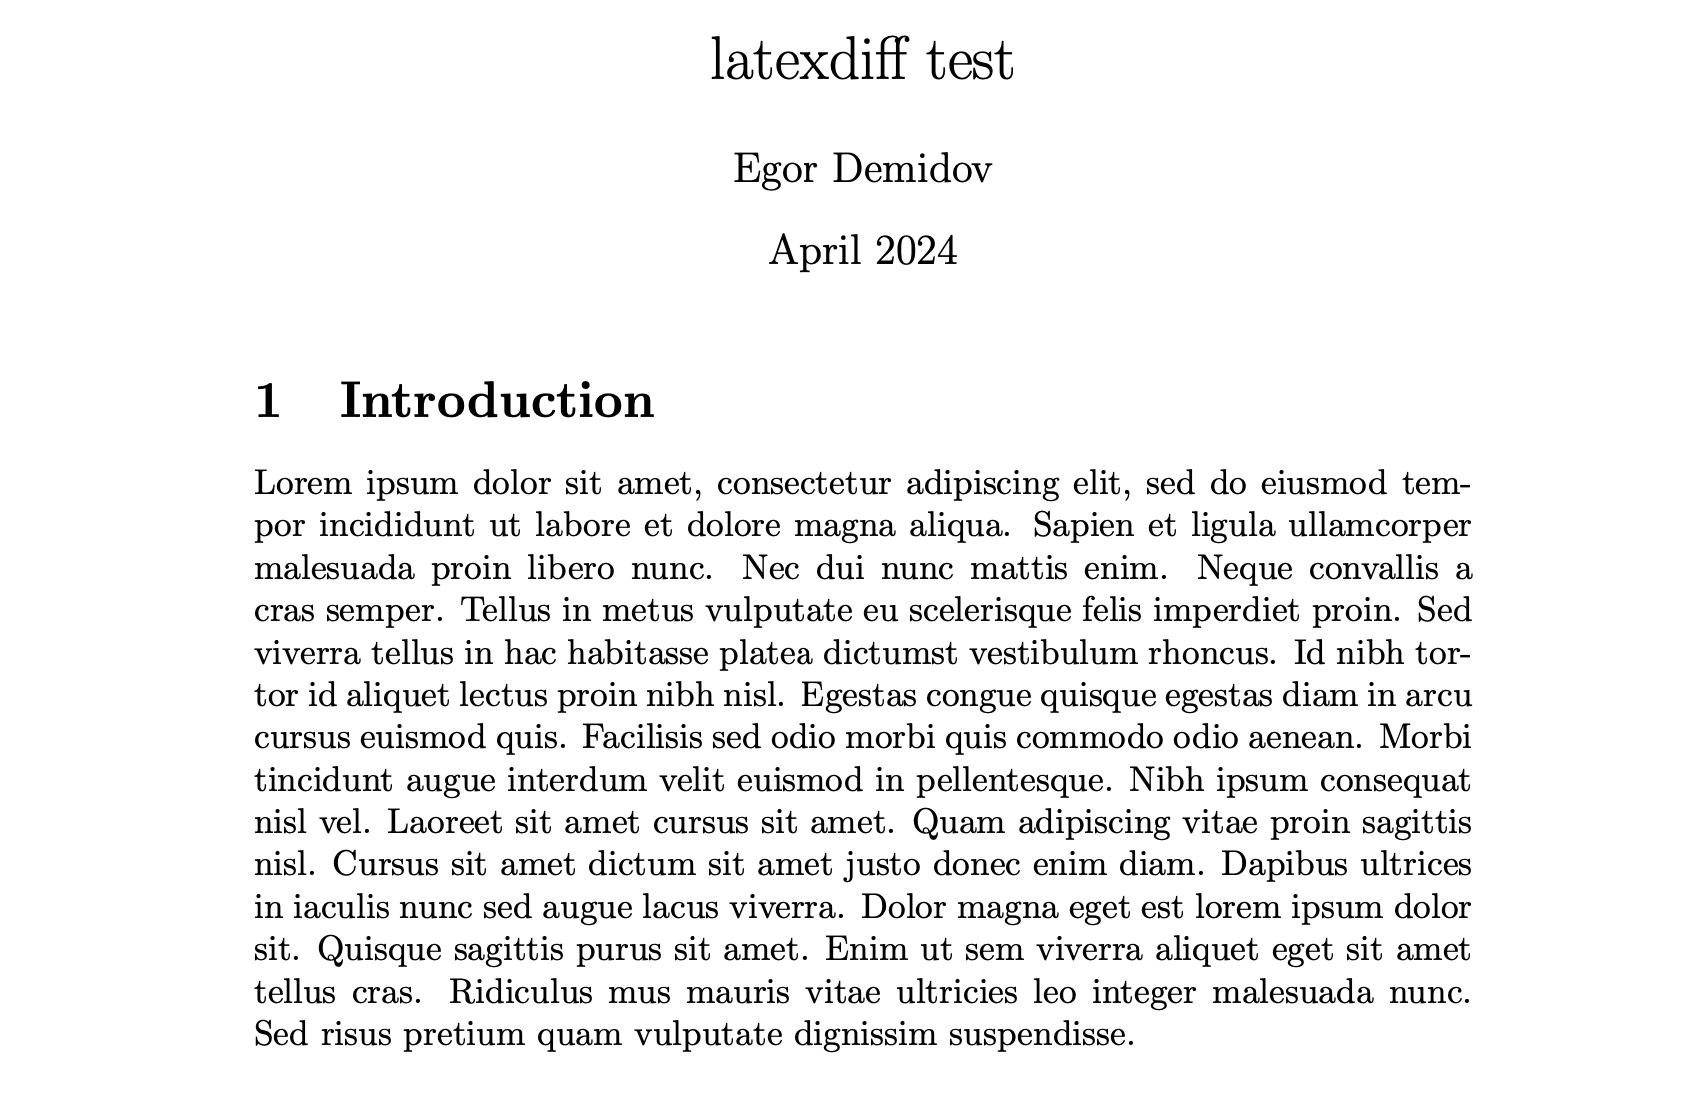
Let’s assume you already have some LaTeX project. I will create a document that has a paragraph of lorem ipsum:
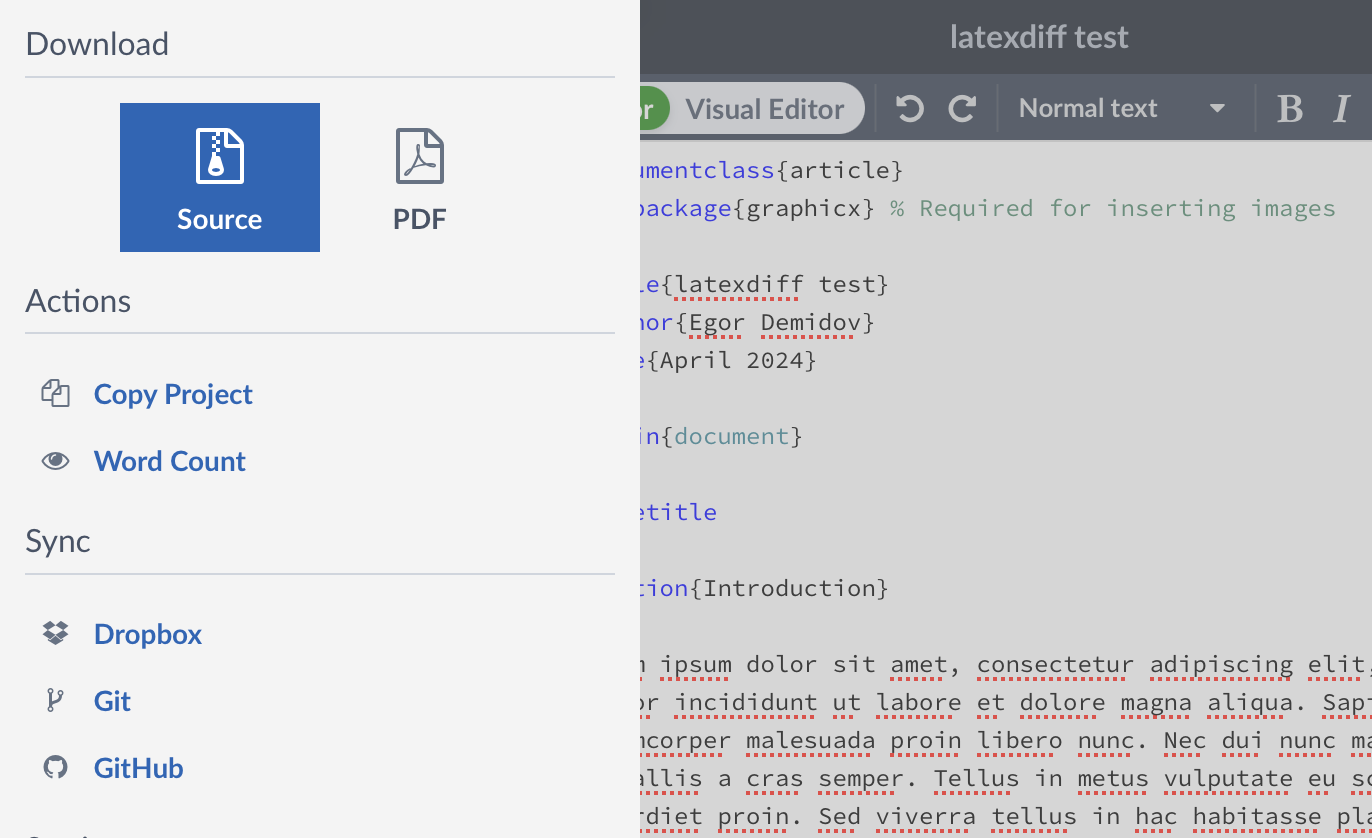
Now, we want to archive this version and start tracking changes made to it. In Overleaf, press the “Menu” button in the top left corner and click “Download -> Source”:
If there is just one .tex file in your project, the browser will download that file. If there are multiple files, it will download
a .zip archive with all the files. Out of the downloaded files, you need to create an archive named base.zip with a folder
named base inside. Put all the project source files inside the base folder:
base.zip
| base
  | main.tex
  | ...
Upload the created archive to the root of your overleaf project. Now, create a folder named .github and a folder named
workflows inside. In the workflows directory, create a file named make-diff.yml with the following contents:
on: [push]

jobs:
  test_action:
    runs-on: ubuntu-latest
    name: Make diff
    steps:
      - name: Checkout repository
        uses: actions/checkout@v3
      - name: Generate a diff file
        uses: egor-demidov/create-latexdiff@v1.4
        with:
          main-file: 'main.tex'
      - name: Upload diff file artifact
        uses: actions/upload-artifact@v4
        with:
          name: diff-file
          path: diff.pdf
Your project tree should tree should look like this:
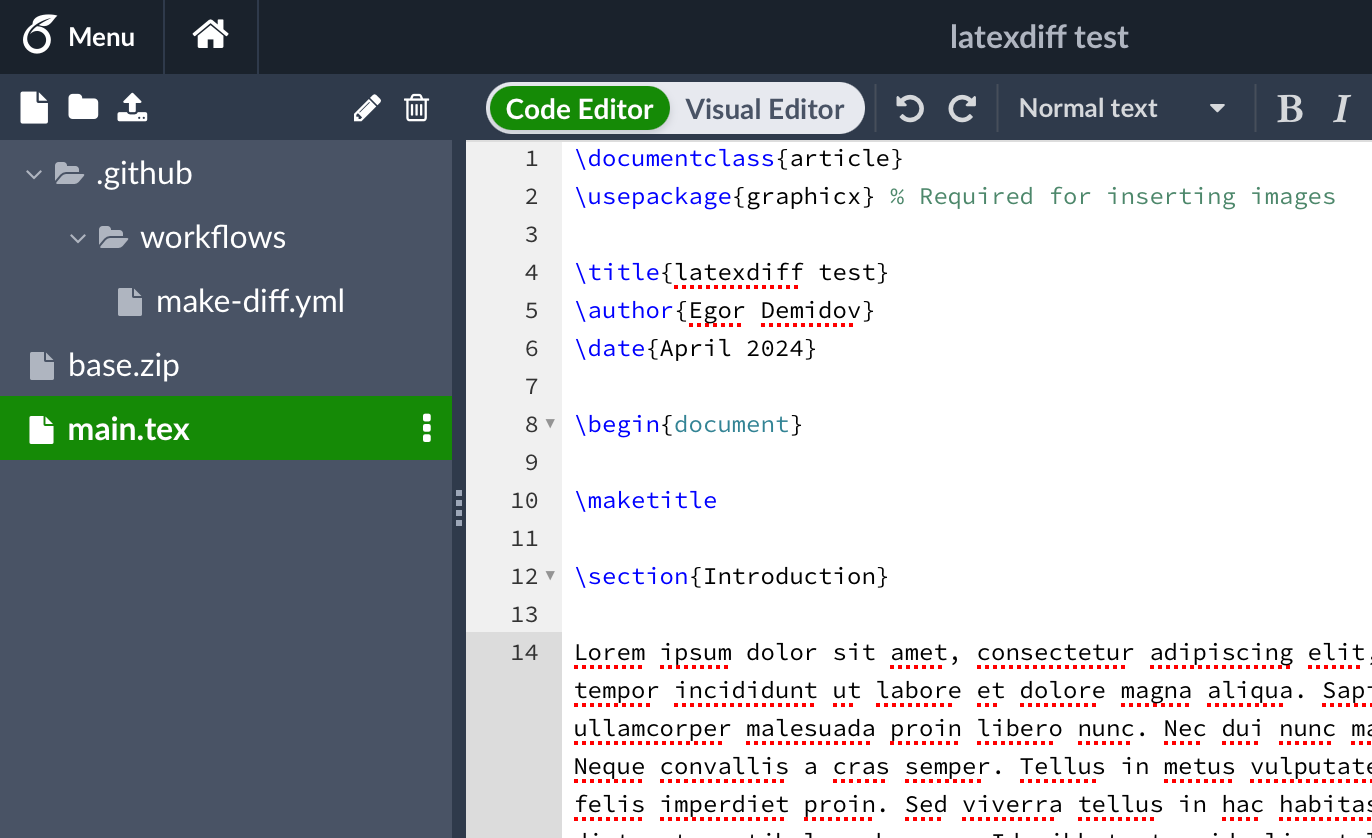
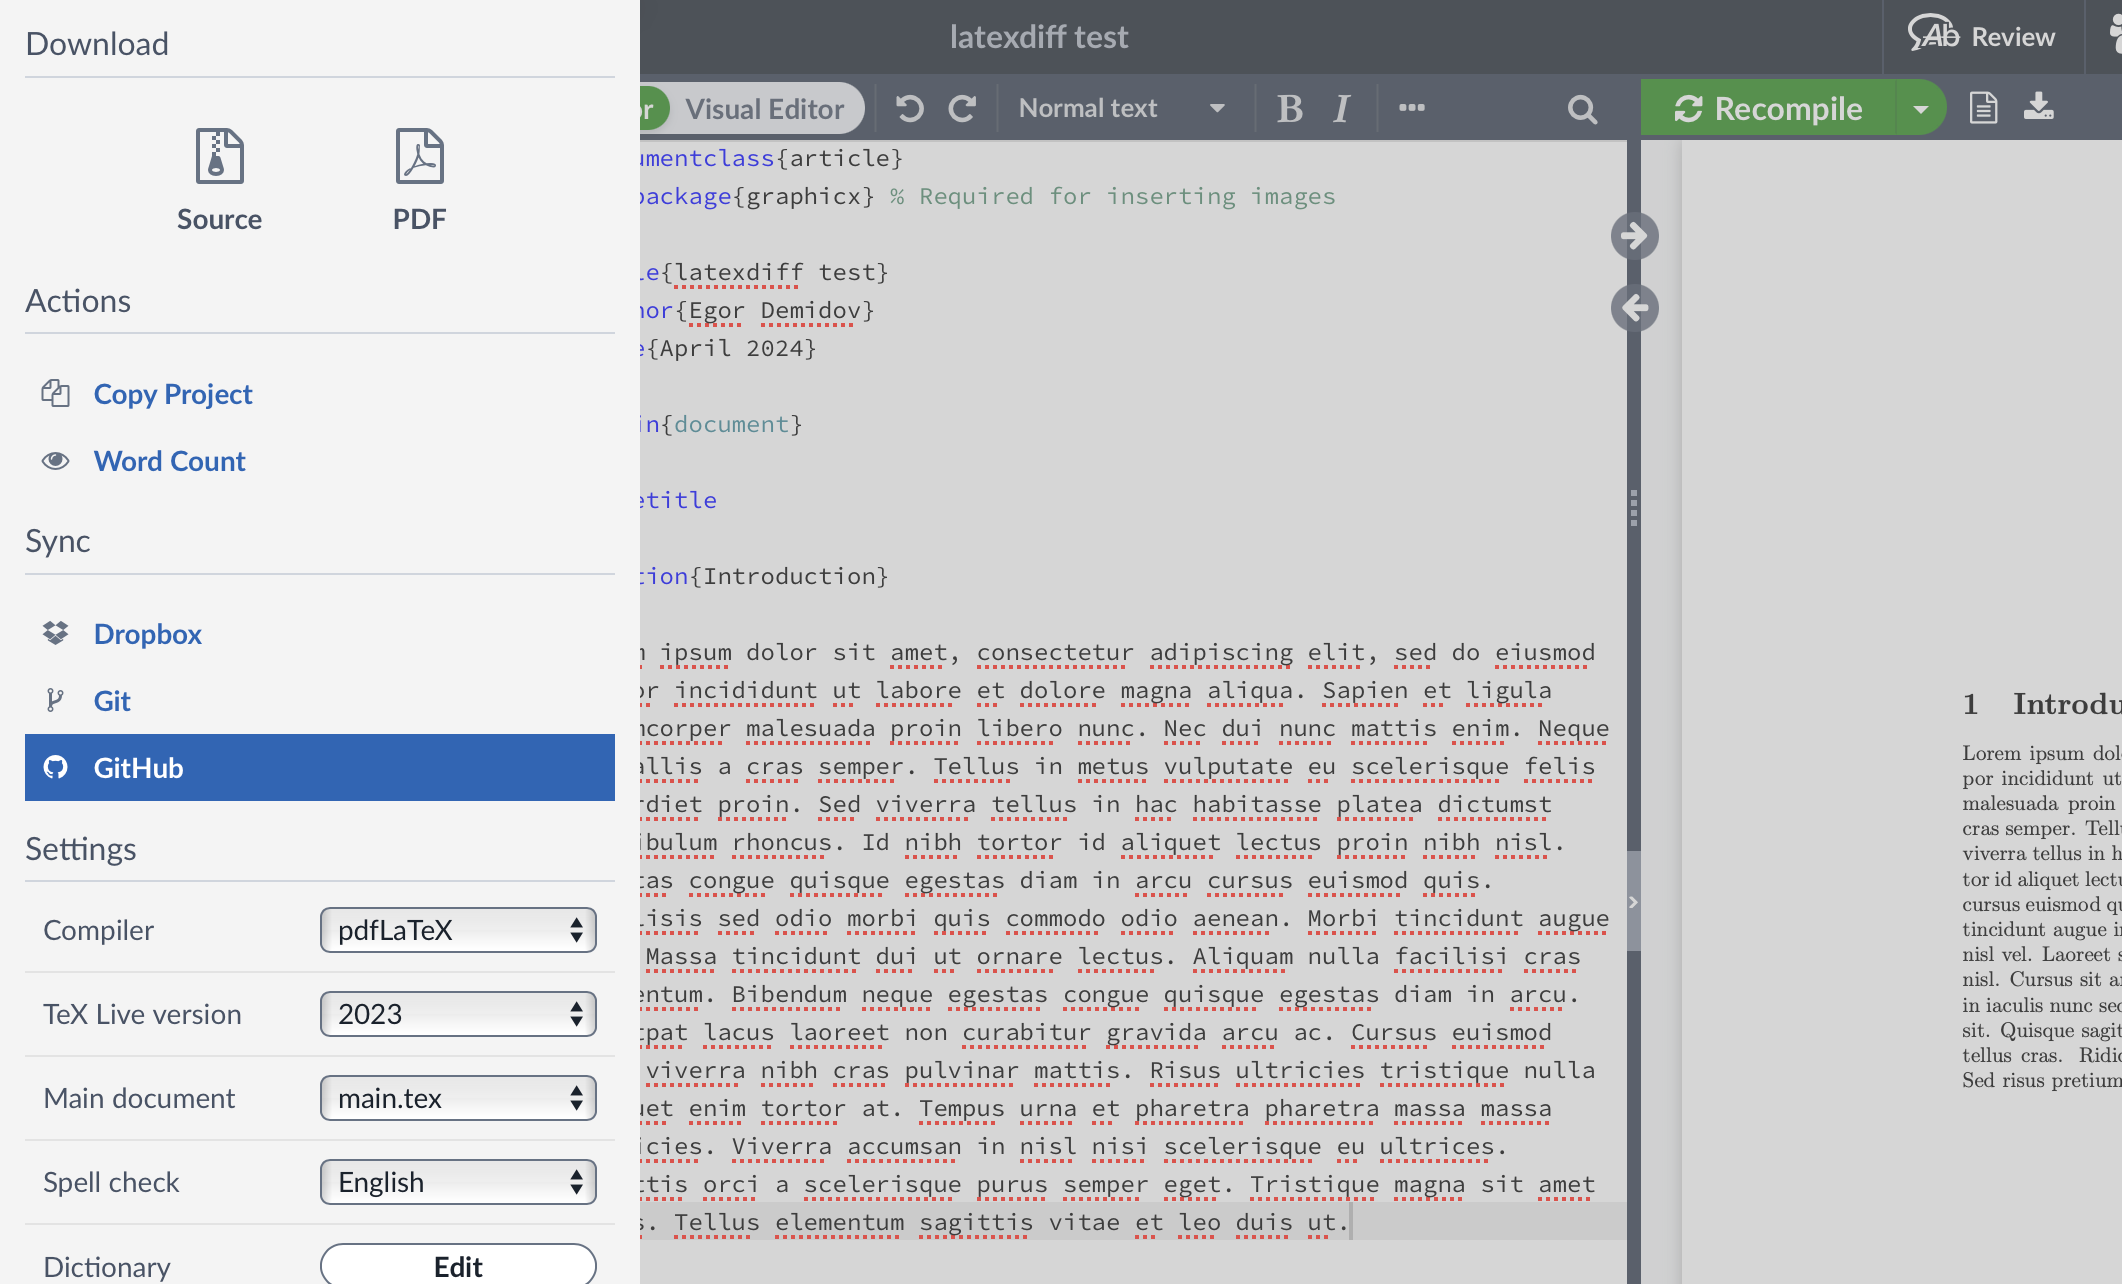
Now, edit the document as you wish. When you are ready to see the diff, go to “Menu” and click “Github” in the “Sync” section:
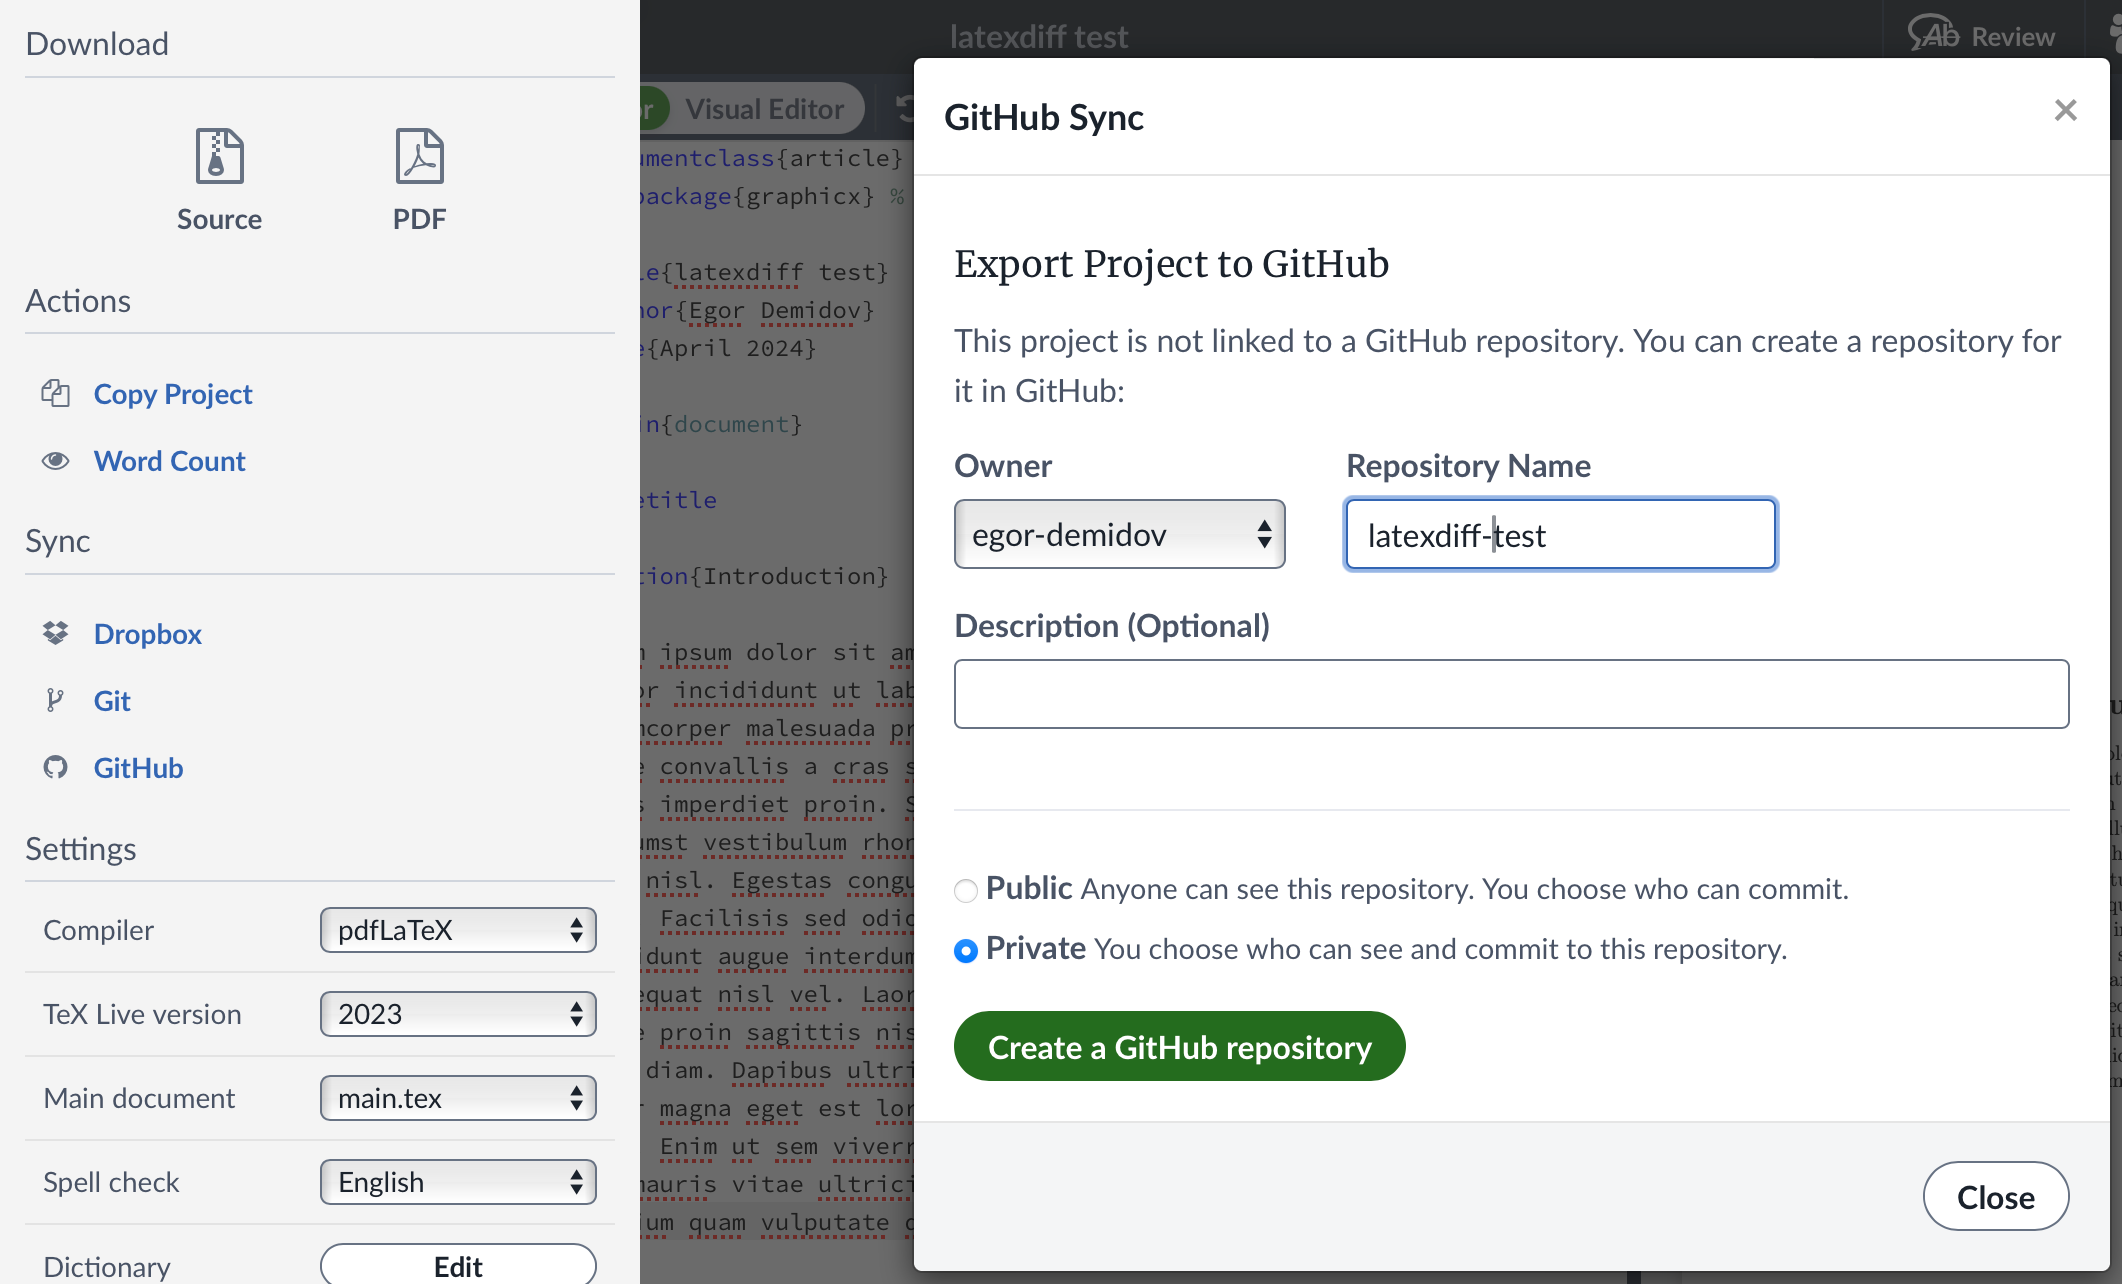
You will need to connect your Github account if you haven’t already done so. Then, you will be prompted to create a repository for your LaTeX project. Come up with a name and proceed:
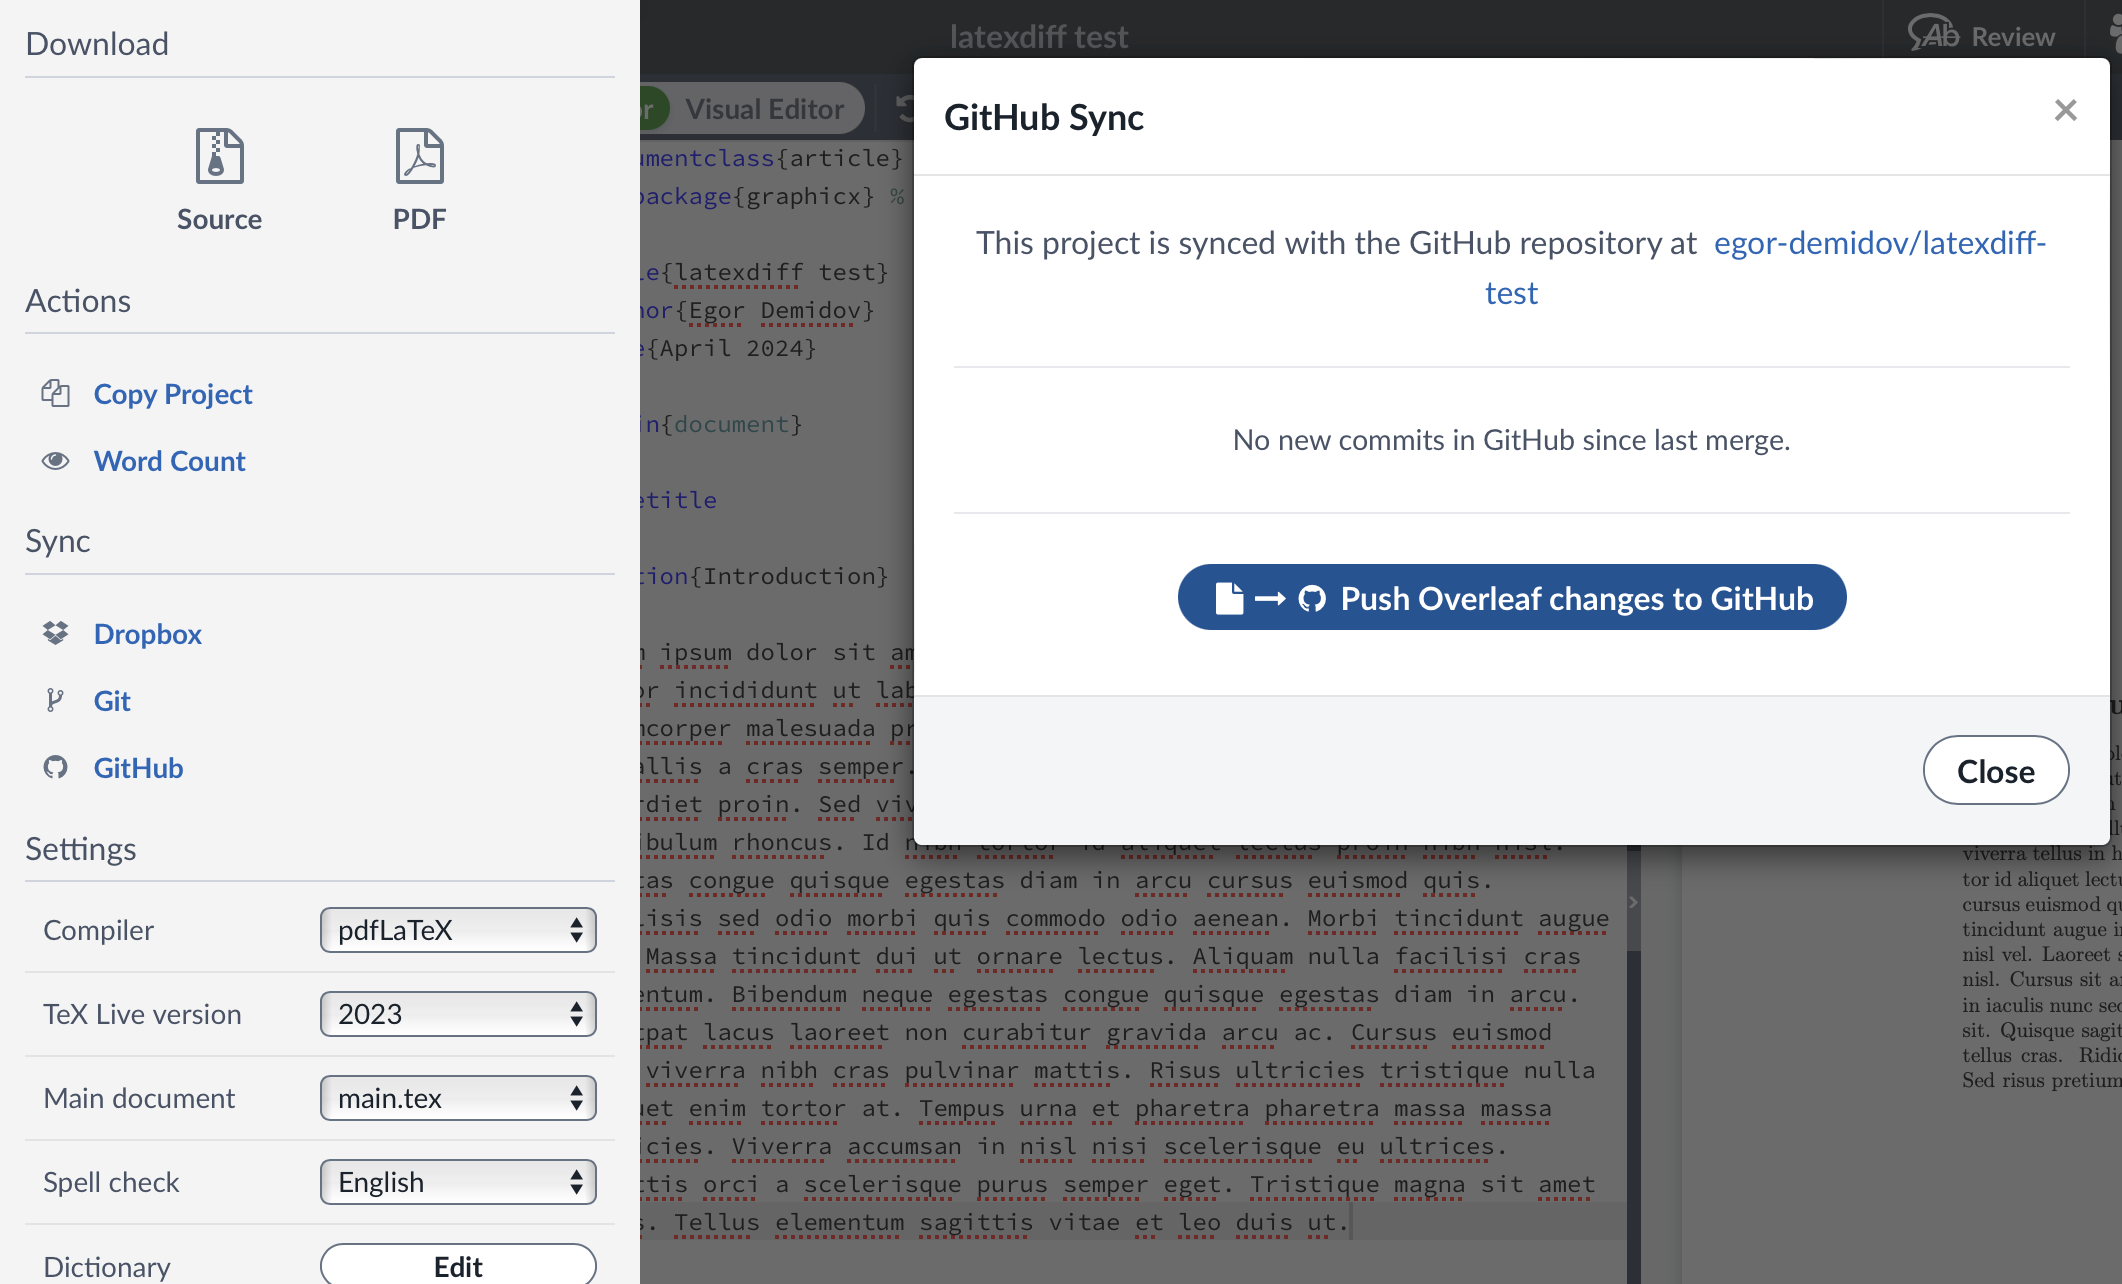
Now, to create a diff file at any point in time, you need to press the “Github” button and then press “Push Overleaf changes to Github”:
After pushing the changes, go to your Github repository and press the “Actions” tab. You will see a list of jobs:
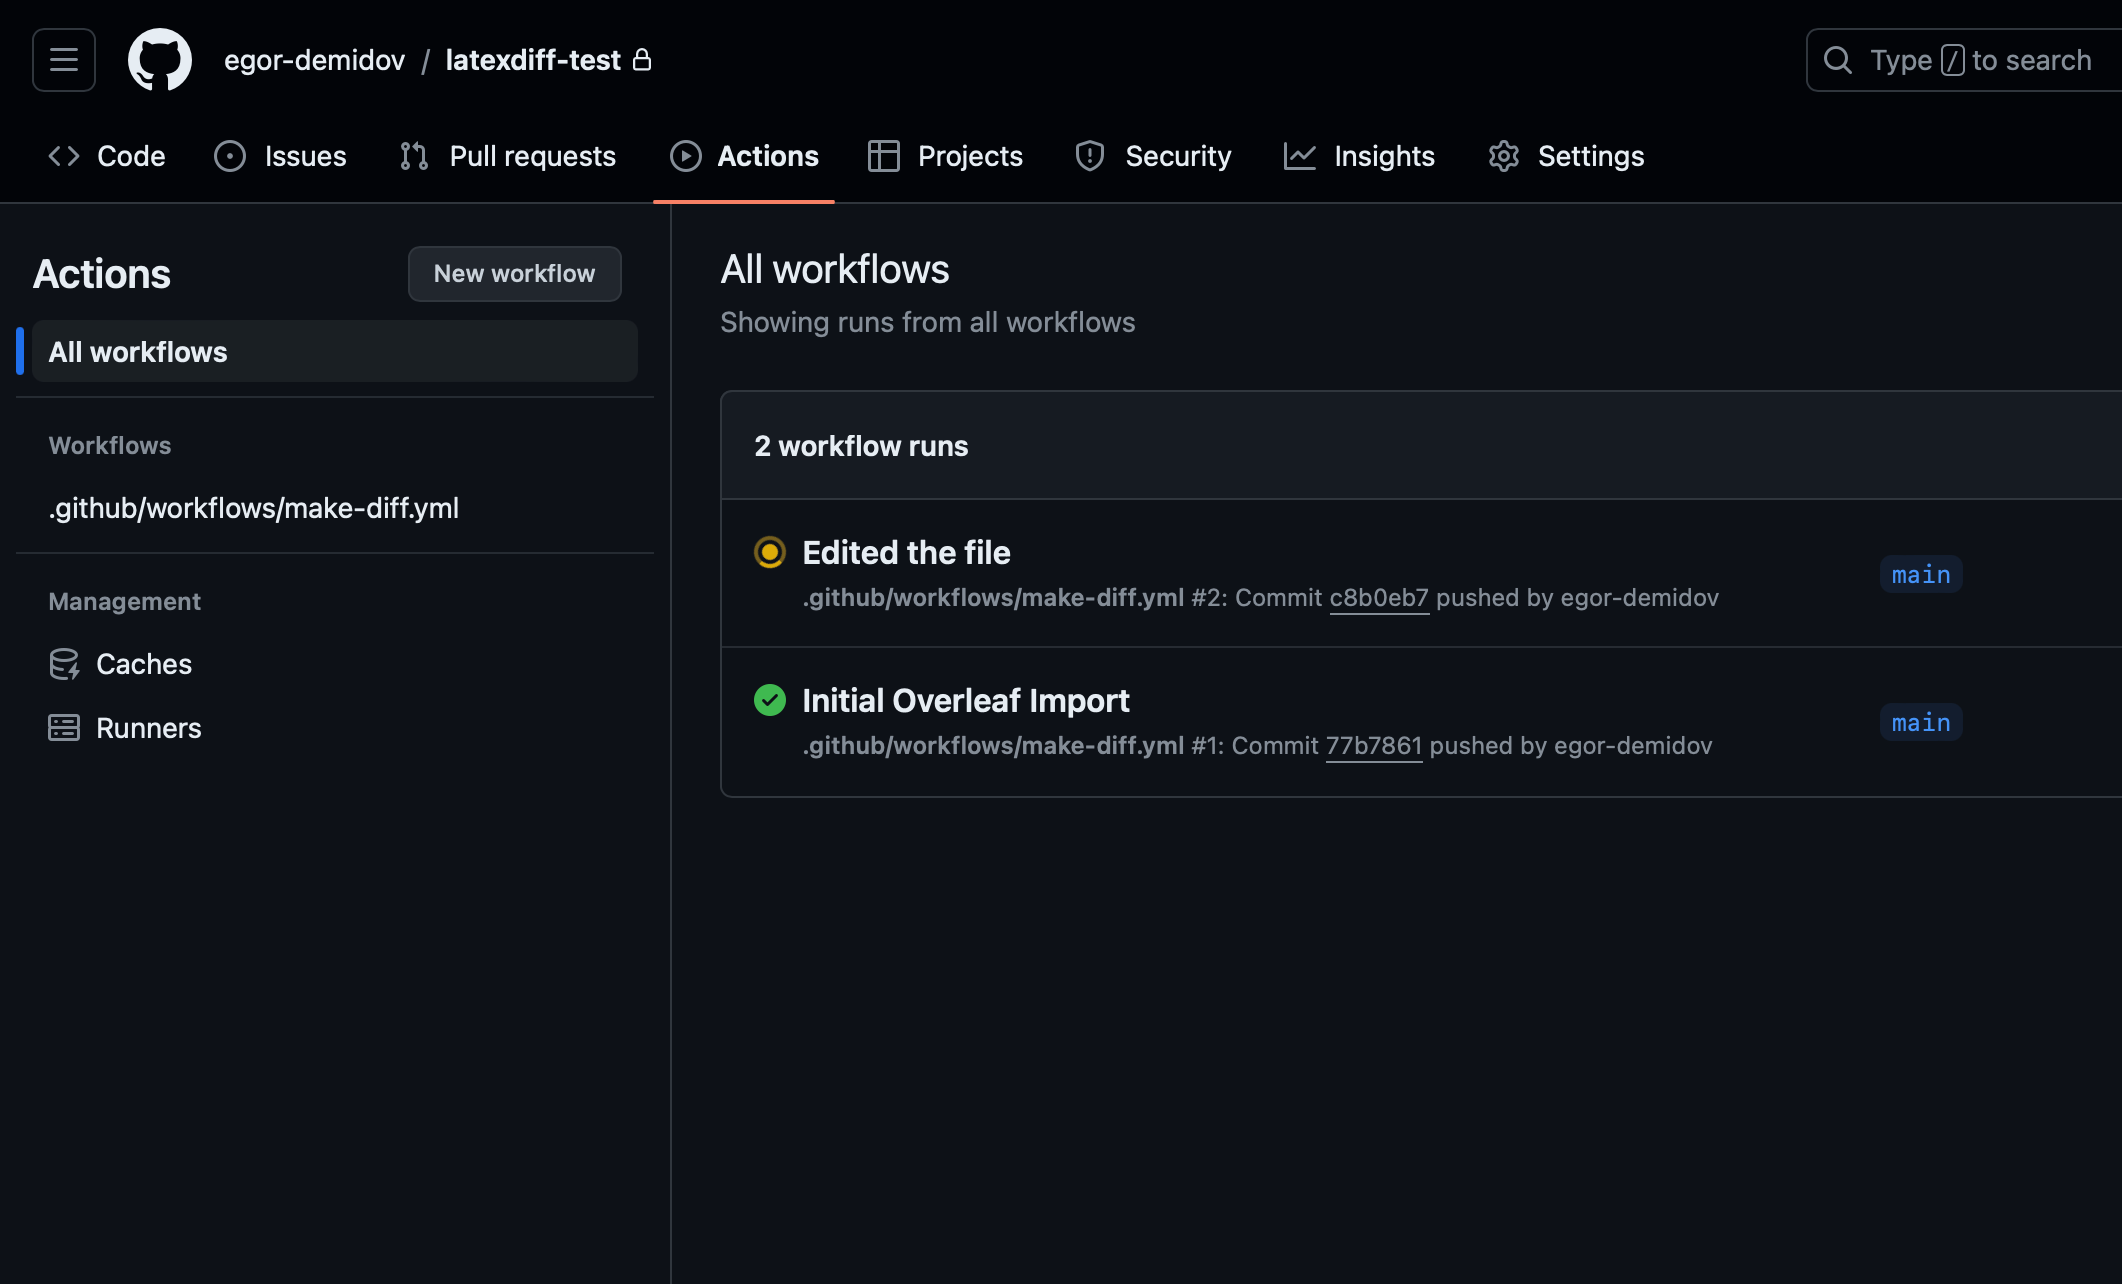
Click on the top one, which corresponds to the most recent commit. It may still be running. Execution might take a few minutes:
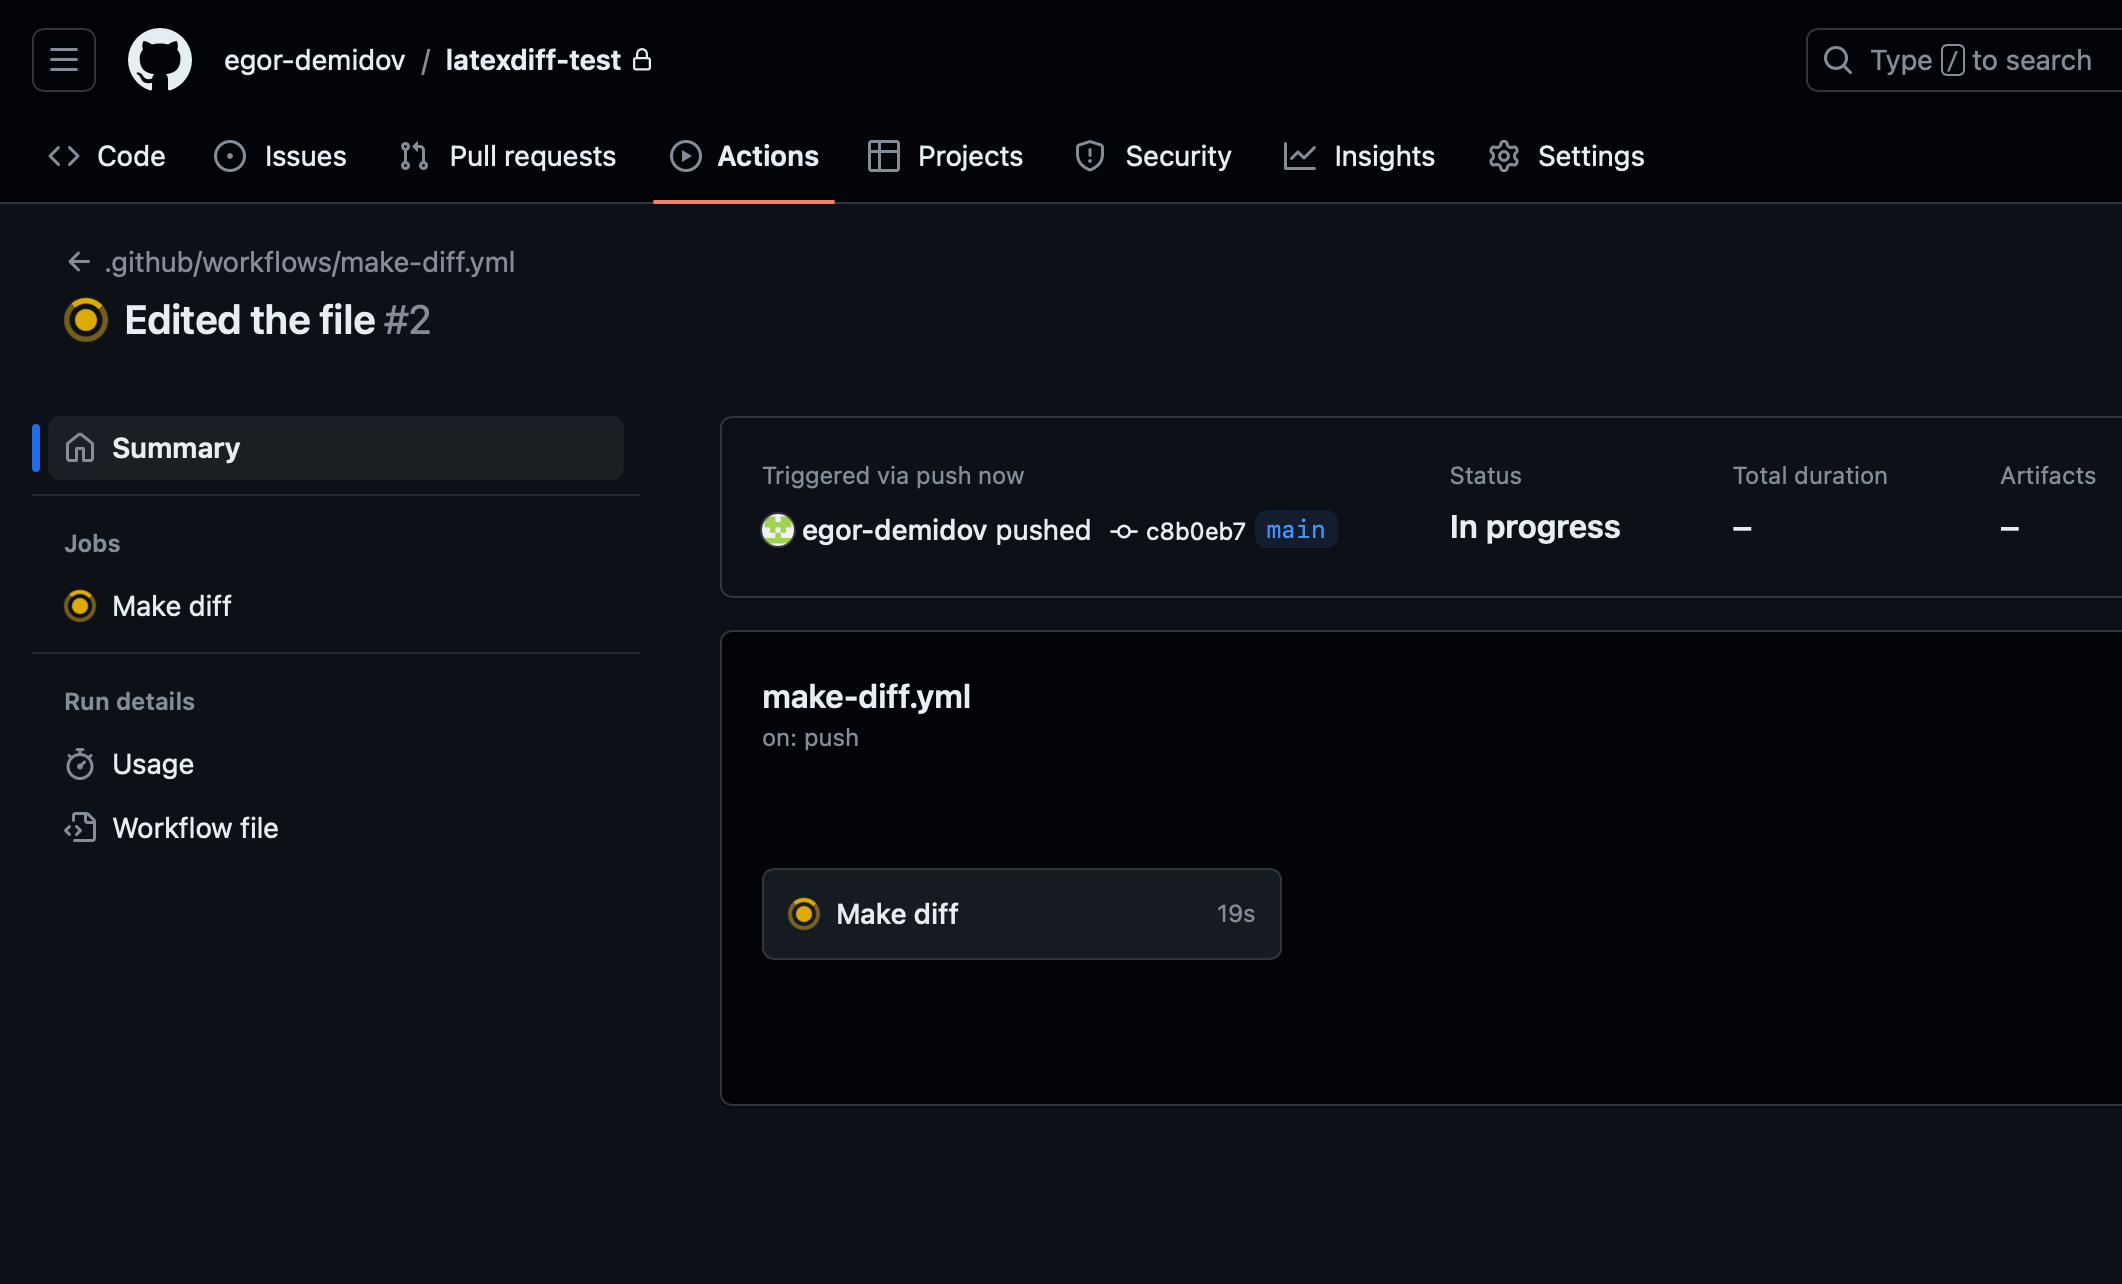
Once the job has finished running successfully, you will see a green check mark. At the bottom of the pge, you will see the “Artifacts” section. Click on the “diff-file” artifact to download it:

An archive named diff-file.zip will be downloaded. It contains a file named diff.pdf. That is your generated diff file:
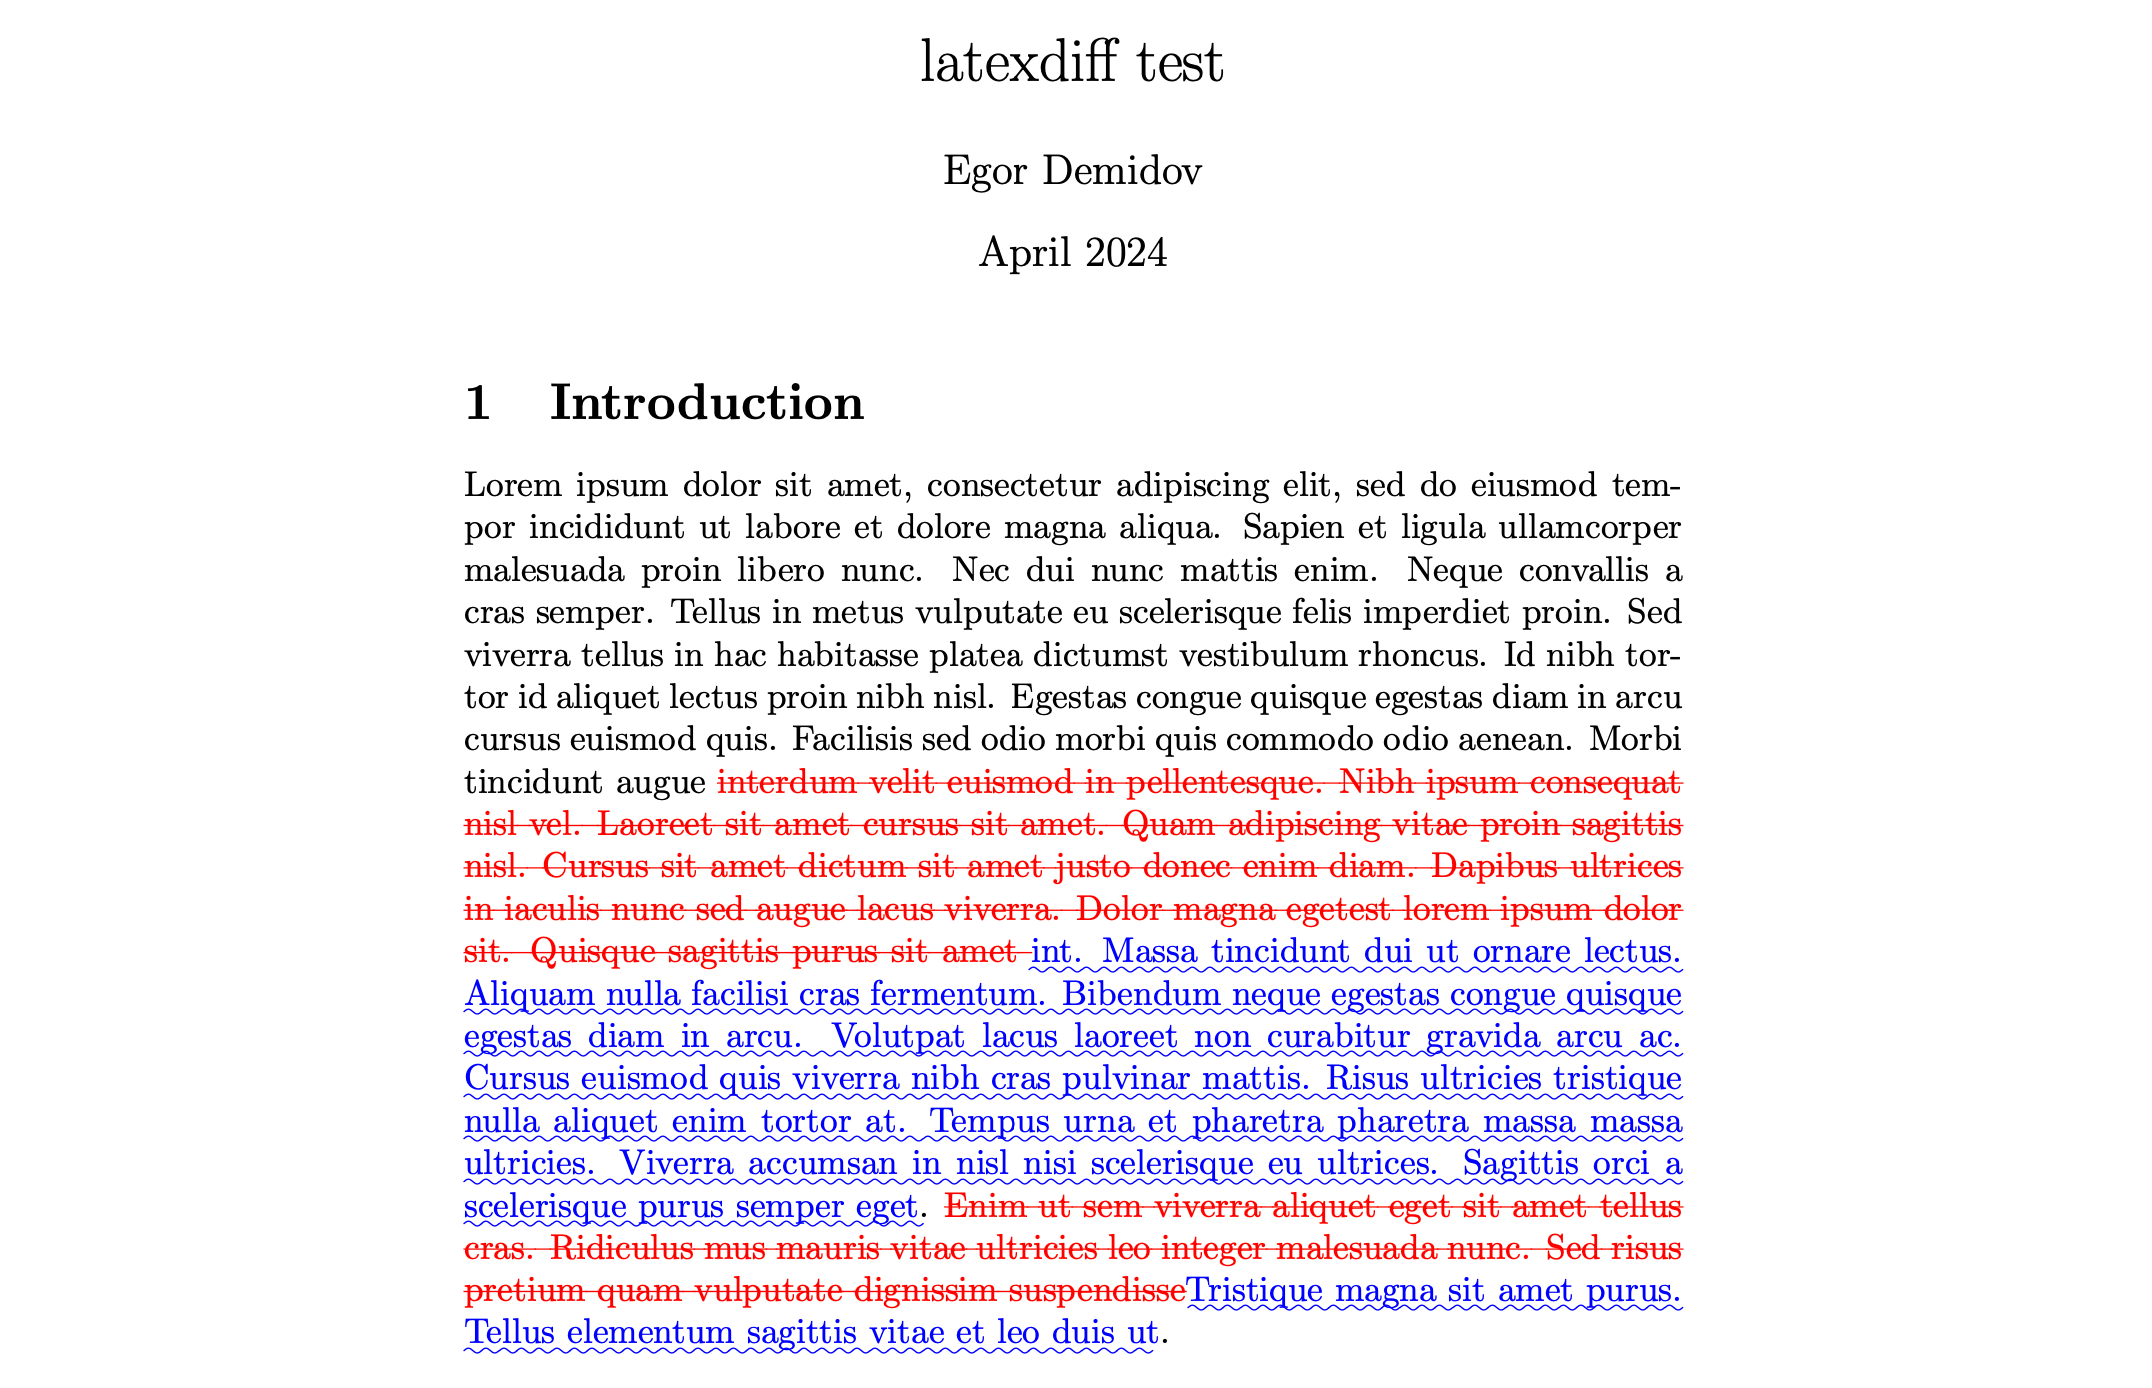
I hope you found this tutorial useful! If you did, please, star my “create-latexdiff” action on Github.